Stock and print settings

4x6 shipping labels: stock, formats and settings

Four inches by six is the layout the Postal Service recommends for parcels, and every scanner, roll of label stock and shipping app in the country was built around that choice. Two smaller formats are documented for awkward parcels, but if you buy one kind of stock, buy this one.

This page is about the media and the machine settings rather than the measurements themselves. What to feed a printer, what a letter sheet can do instead, and the one dialog option that quietly ruins a barcode.

USPS layout wording quotedThree stock typesLive prices, 2026-07-28
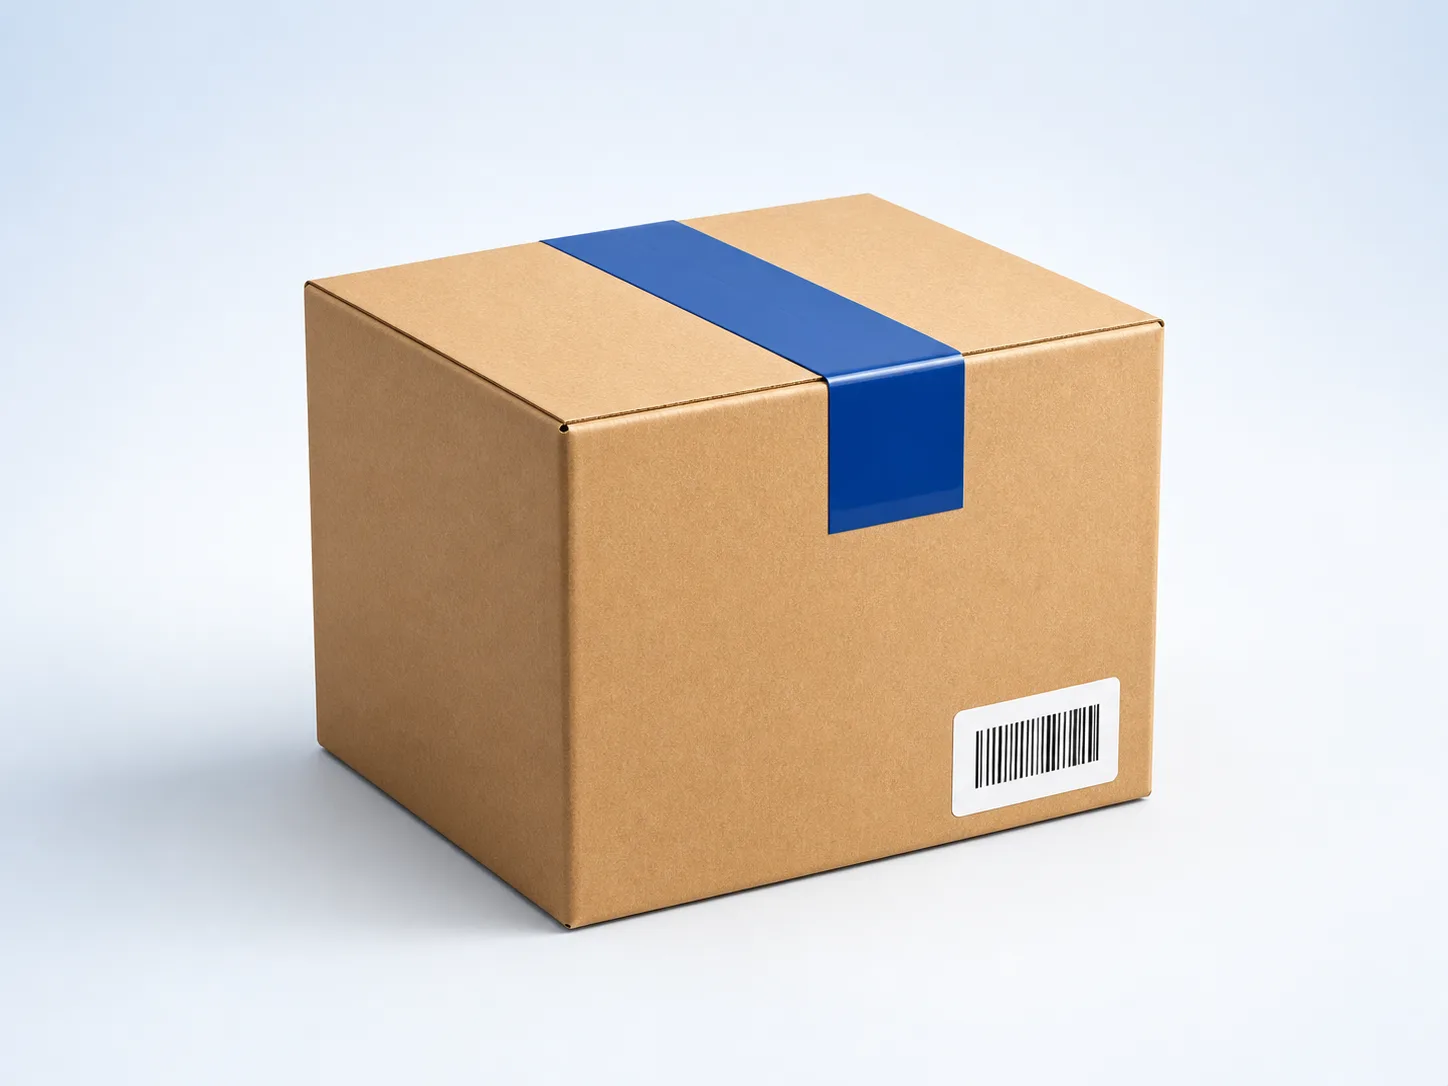
Roll of 4 by 6 shipping labels next to a packed carton
One size, three ways to buy it

Roll, sheet or plain paper. The printed area is identical in all three cases.

Why this particular rectangle won

The Postal Service is unambiguous about it. Quoting the Parcel Labeling Guide, version 3 release 5, read on postalpro.usps.com on 2026-07-28: the 4x6 label “is the USPS recommended layout for parcel labels” and “allows for optimum spacing of all elements and still allows space for additional information and user elements to be defined by the mailer”.

The same document explains where the space goes. The payment and branding strip runs roughly 1 5/16 inches tall, the barcode segment about 1 1/2 inches, and the delivery address block gets an area of roughly 3 3/20 by 1 5/16 inches including margins. Add those up and a smaller rectangle stops being comfortable, which is precisely what the two alternate formats acknowledge.

  • The 4x4 format “allows for less information than the 4x6 label but may be a useful format when shipping smaller sized parcels”. The payment and branding strip is the part that shrinks.
  • The 6x3 format “may be a useful format when shipping unusually shaped mailpieces such as mailing tubes”, where a long thin label wraps a curved surface better than a squarer one.

Neither alternative is worth stocking for a household or a small shop. Buy 4 by 6 and use it for everything.

Three kinds of media, and who each suits

  1. Direct thermal rollsThe default for a label printer. Heat-sensitive 4 by 6 stock on a core, no ink involved, one label per pull. Rolls are cheap per label at volume and take up almost no bench space. Store them away from sunlight and radiators, because the same sensitivity that makes them print makes them darken on a windowsill.
  2. Fanfold stacksThe same thermal stock folded flat rather than wound. It feeds straighter, does not curl at the end of a run, and suits anyone printing dozens in one sitting. Mechanically it is the identical label, so choose on how you like the paper to sit rather than on print quality.
  3. Adhesive sheets and plain paperFor an ordinary inkjet or laser, either buy self-adhesive sheets that split a letter page into peel-off labels, or use copier paper and clear tape. USPS explicitly allows the second route: you do not need special label sticker paper, and taping a printed label down with clear packing tape is fine (usps.com, checked 2026-07-28). Trim outside the printed border and keep the barcode area untouched.

One rule outranks all three choices. Whatever the media, the barcode “must be printed on a substrate which is uniform in color”, so anything tinted, patterned or glossy is out regardless of how convenient the pack looked.

The setting that shrinks your label

Every print dialog offers to fit the page for you, and every one of them is wrong here. Scaling a 4 by 6 label down by even a few percent thins the bars and the gaps together, and the guide requires a clear zone of at least 1/8 inch above and below the barcode where “No text, images, or other markings may appear”. A shrunk label can push a neighbouring element into that zone without looking any different to you.

Set scale to 100 percent or actual size, print one label, and lay a ruler across it. Four inches wide means you are done; anything less means the setting reverted, which some drivers do quietly after an update. On a thermal printer, check the stock size selected in the driver matches the roll you loaded, since a mismatch produces the same shrunken result from a different direction.

Same label, four different weights

The label format is fixed; the price under it is not. Here is one small dense carton at four weights, quoted on 2026-07-28 from Newark, NJ 07102 to Atlanta, GA 30303, showing something most weight tables hide.

One 8-5/8 × 5-3/8 × 1-5/8 in box at four weights, Newark, NJ 07102 to Atlanta, GA 30303, quoted 2026-07-28.
WeightUSPS Ground AdvantageUPS Ground SaverUPS Ground
2 lb$8.48$10.18$10.67
5 lb$10.39$10.18$10.67
10 lb$10.39$10.17$12.56
20 lb$10.39$10.17$12.56

Look down the first two columns. Between 5 lb and 20 lb the price barely twitched, a single cent separating the Ground Saver rows, because a box this small is already priced on the space it occupies rather than on what it holds. Doubling the contents of a small dense carton twice over cost nothing at all on two of the three services.

Label stock questions

Why are shipping labels 4 by 6 inches?

Because the Postal Service recommends that layout and everything downstream was built around it. The Parcel Labeling Guide states that the 4x6 label is the USPS recommended layout for parcel labels and that it allows optimum spacing of all elements, per postalpro.usps.com read 2026-07-28.

Are there other label sizes carriers accept?

USPS documents two smaller layouts. The 4x4 allows for less information than the 4x6 label but may be a useful format when shipping smaller sized parcels, and the 6x3 may be a useful format when shipping unusually shaped mailpieces such as mailing tubes. Both come from the same Parcel Labeling Guide.

What label stock should I buy for a 4 by 6 label?

For a thermal printer, 4 by 6 direct thermal rolls or fanfold stacks. For an ordinary home printer, either self-adhesive sheets that split a letter sheet into peel-off labels, or plain copier paper you trim and tape. All three end up as the same 4 by 6 printed area.

Why did my label print too small?

The print dialog scaled it. Fit to printable area shrinks the whole label by a few percent, which thins the barcode bars and the gaps between them at the same time. Choose actual size, print one, and measure it across with a ruler before you commit a box of stock.

Nearby guides

Browse all shipping cost guides